KQED: Element of Value
This video talks about light and how artists create the allusion of light in their art. It also explains how different values can be created by lightening or darkening the hue. The video explains value really well and I think it would be good to include in a classroom for students Grade 5 and up!

My Artwork
Instructions for Carbon Paper Portrait: Place a piece of heavyweight paper, then a piece of carbon paper, and a printed off image of your choice on top of that. Use a pencil to shade/ trace your image to copy it onto the paper underneath it. Use an eraser/ more shading to finesse your picture!
Materials:
- Heavyweight paper
- Carbon paper
- Printed off portrait of yourself (in black and white)
- Tape
- Pencil
- Eraser
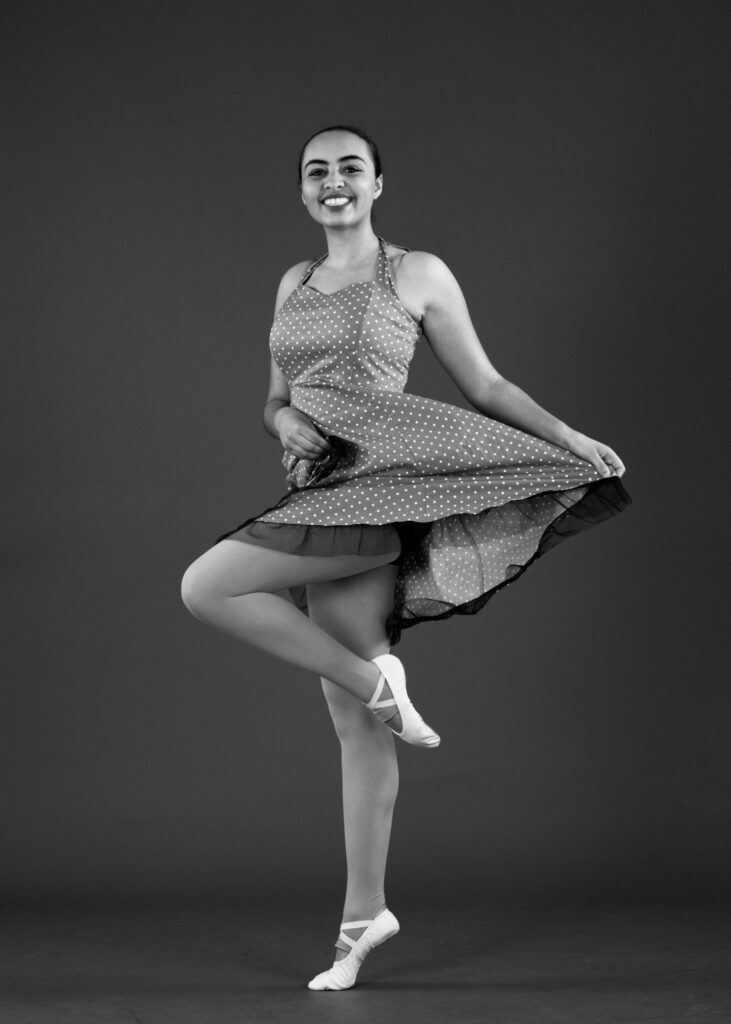
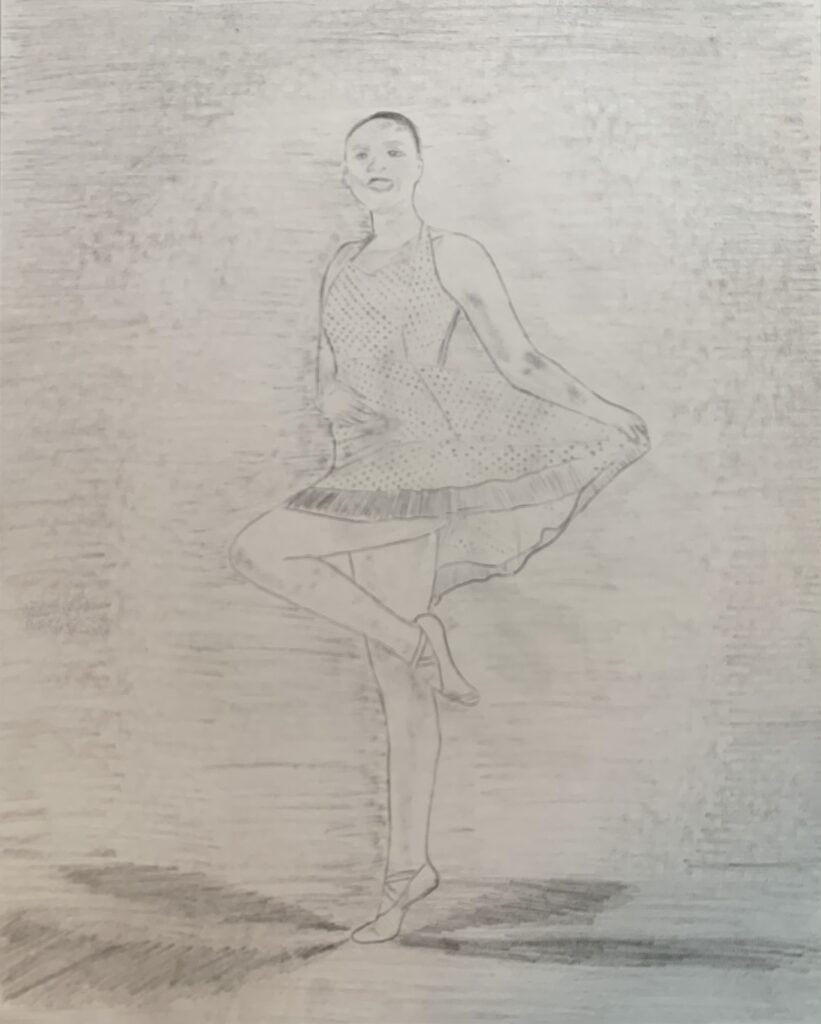
This week’s art activity was a challenge for me! I have never done anything like it before, so I was really proud with what I came up with! After the busyness of the semester is over, I would love to add some darker darks to my artwork to clearly illustrate the element of value. But overall, I am really happy with my art and I loved experimenting with the element of value!
Critical Analysis
During our class time, we did not do a critical analysis specific to the element of value. However, I still wanted to look for a piece of artwork that demonstrates this element so I can potentially use it in the future!
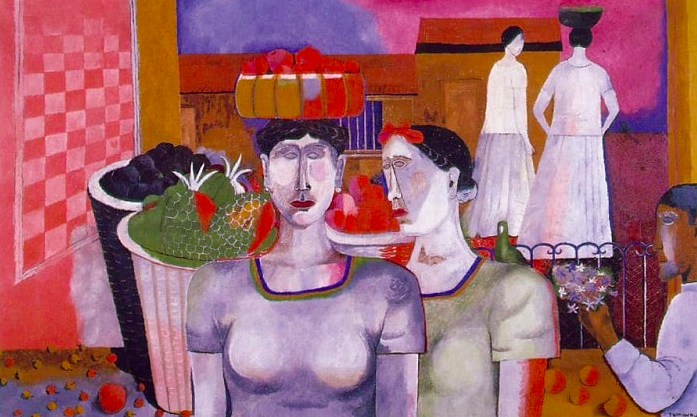
I found a website that has art examples for each element of art (such an awesome resource)! For the element of value, the artist Rufino Tamayo created this piece of art in 1939. You can see value through the white the artist uses to tint different items in the picture. I would use this artwork for an audience of older students!
Some More Resources!
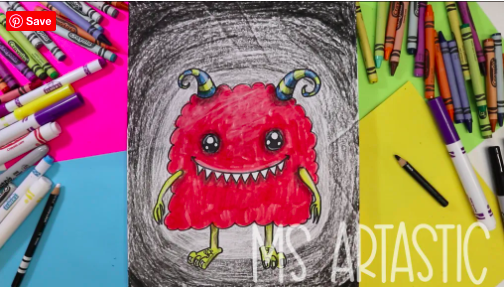
The element of value is normally directed towards older students; however, if a teacher chose to introduce this element earlier, I found a webpage that explains a fun way to do it! I found a website that includes a fun lesson to show kids that value means the lightness or darkness of a colour. The students can start by drawing anything they like in the centre of the page (the lesson uses a monster as an example). Then, they can draw circles around the image. The circle closest to the image will be shaded lightly, and as you move further from the image the students can shade darker. Here is a picture of what the art looks like, and a video explaining the process as well!
Leave a Reply
You must be logged in to post a comment.