Image development strategies are strategies that artists use to enhance meaning in their artwork. There are quite a few image development strategies. I have included a list of the strategies, including definitions for each of them, in the picture below.

Depending on the grade level, teachers can focus on a couple of these image development strategies each year. Image development strategies are introduced into the curriculum starting in Grade 3, and the strategies at this age are more simple. They become more complex as the students get older. Here is a list of the image development strategies most suitable for each grade level:
- Grades 3-4: Magnification, Multiplication, Reversal, Elaboration, Simplification
- Grades 5-6: Substitution, Abstraction, Reproduction, Point of View, Exaggeration, Serialization, Distortion
- Grades 7-8: Superimposition, Stylization, Animation, Juxtaposition, Metamorphosis, Disguise, Isolation
My Artwork
To practice image development strategies, we had four options of activities, and we chose two of them to complete. I’ve included the instructions for each of the activities below, and I’ve included my artwork for the image development strategies I practiced.
Reversal
Instructions for activity: Cut a shape of heavyweight paper in half. Now, fold that piece of paper in half. On one side, draw a simple pattern or picture using black oil pastel. Re-fold the paper, and press firmly on the back of the paper with a spoon so the image transfers to the other half. Use the black pastel again to make the lines darker if they didn’t fully transfer. Now, colour your image using different colour combinations for each side (i.e., warm colours on one side and cool on the other).
Materials:
- Heavyweight paper
- Black oil pastel
- Spoon
- Other colours of pastels
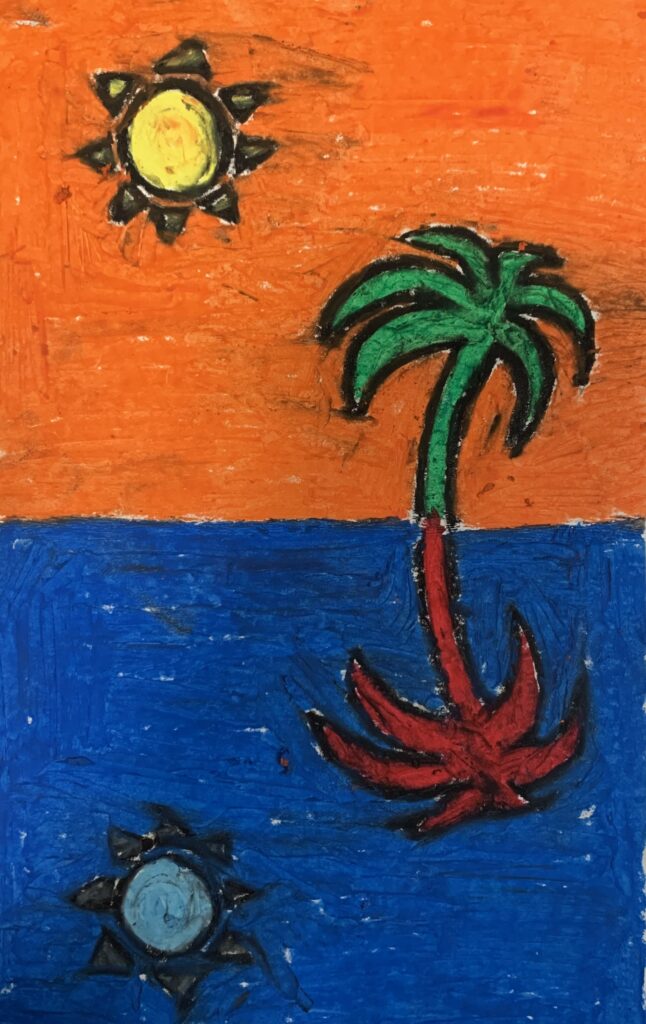
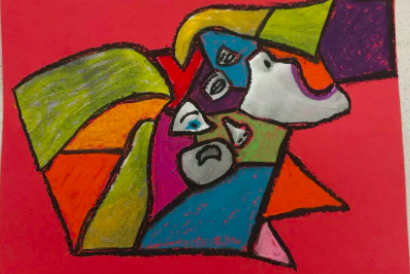
Here is my art activity for reversal! I decided to colour it using complementary colours and I think it turned out really fun!
Simplification
Instructions for activity: Think of an animal you would like to draw. On half a piece of heavyweight paper, draw it using your imagination. Then, look up ‘Fair Use’ on the internet to find a picture of that animal. Print the picture in black and white. Use felt pens to draw geometric shapes as you see them on the animal. Now, looking at your picture with shapes, draw this animal on the other side and start with drawing the shapes first. Leave the shapes visible on your final drawing so you can see how it helped you.
Materials:
- Heavyweight paper
- Felt pens
- Black and white image of animal

I did not have the chance to try this activity, but here is an example of the process from the powerpoint slides!
Substitution
Instructions for activity: Look at the two images below. Think about the attributes of one then the other. Print the images and use your sharpie, scissors, or other tools to add something on the butterfly from the woman and something on the woman from the butterfly.
Materials:
- Printed images
- Sharpie felt pen
- Scissors
- Any other materials you would like
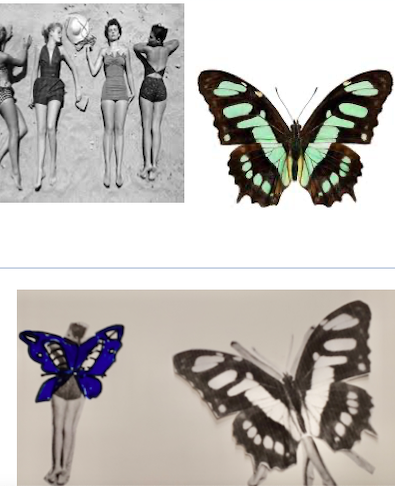
I didn’t have a chance to try this activity either. So, I included the two images that were suggested, as well as Kathleen’s example of the activity!
Elaboration
Instructions for activity: Google ‘Zentangles’ and find a short YouTube that shows zentangles being drawn. They start with a simple shape and elaborate it by breaking it up into smaller shapes. You can replicate some of the patterns you see in the YouTube video or create your own. The key parts of zentangles are: symmetry, different weights of line, spaces split into smaller spaces, and black spaces. You can add colour as well if you wish.
Materials:
- Heavyweight paper
- 2 sizes of black felt pens or sharpies
- Protractor
- Pencil
- Ruler
- Coloured pencils (optional)
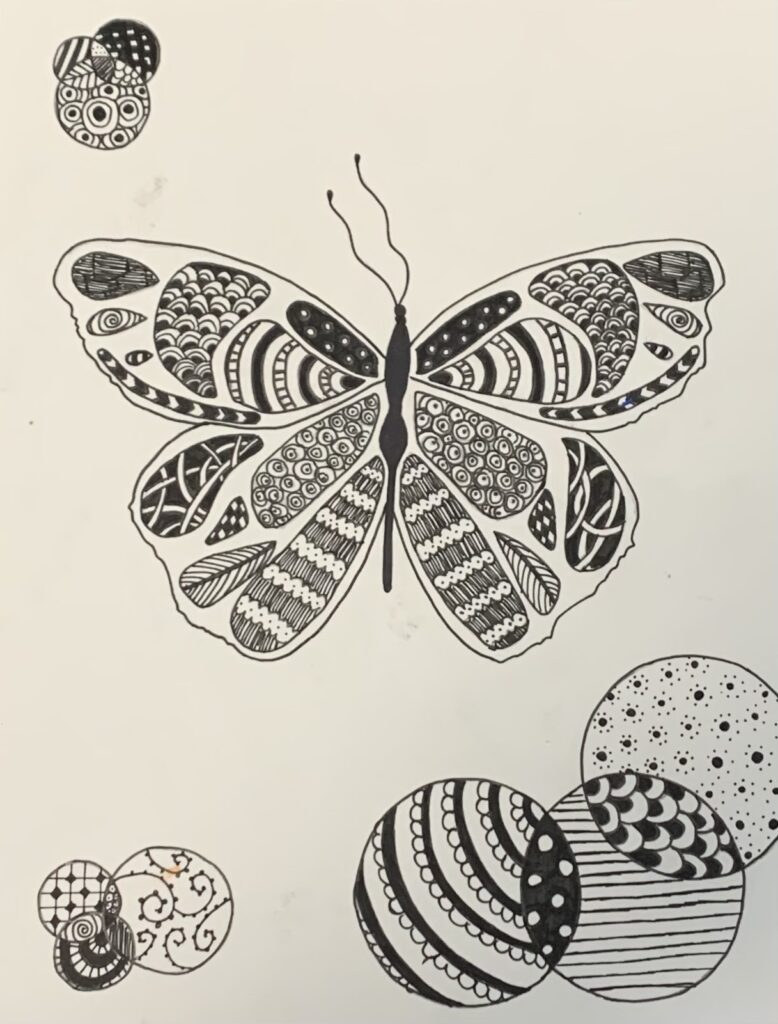
Here is my zentangles artwork (demonstrating the image development strategy of elaboration). I love how my artwork turned out and I had a lot of fun creating it! I focused specifically on symmetry, different weights of lines, and adding black spots to my image.
Critical Analysis
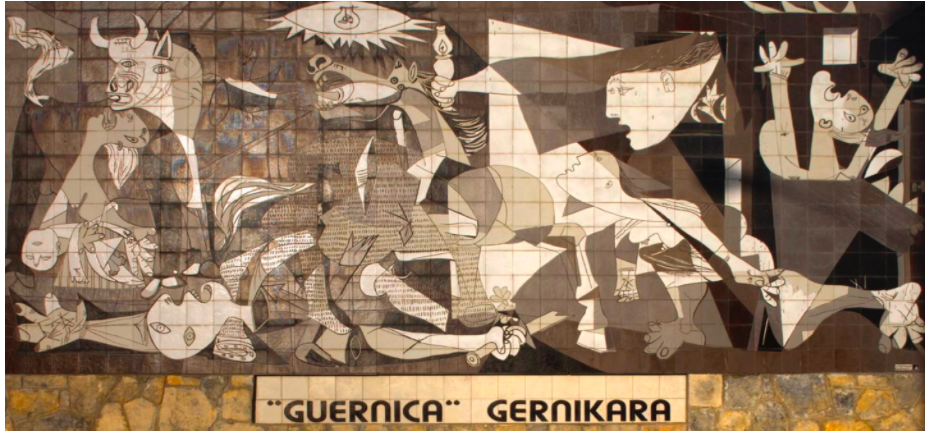
Pablo Picasso
I included “Guernica” by Pablo Picasso in the “Principles of Design” section as well. When doing the critical analysis for this image, we discussed movement. However, we also identified image development strategies in the art as well. For example, this piece illustrates distortion and I see elements of superimpose as well!
The Powerpoint also includes some images that include image development strategies. Here are the images and the strategy they use:

‘The Scream’ by Edvard Munch
This image uses Distortion, as well as the element of texture or line.
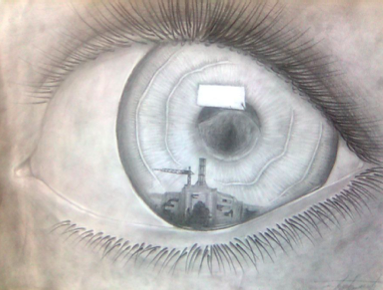
Marco Puseljc
This image uses minification, as well as the element of value.

‘Dog Detective with Magnifying Glass’
This image uses magnification, as well as the element of shape.
Some More Resources!
Here is a Grade 3 lesson plan (beginning of a unit plan) that I created with a peer in my class. It is for the image development strategy of multiplication and the element of shape!
Here is an example of a Grade 6 unit plan for the image development strategy of distortion and the element of colour.
This is a lesson planning template (the beginning of a unit plan) that can be used when integrating image development strategies in an art classroom.
I found a webpage that explains four image development strategy activities. The strategies the website has examples for are superimposition, fragmentation, seriation, and animation. My favourite example on the website is the activity for fragmentation, which was inspired by Picasso. For this activity, the students take two distorted images of themselves where they are expressing a different emotions. Then, they print the images, cut them into pieces, and arranged them on a piece of paper. Then, they used colours that related to the expression to colour the paper. This activity looks really fun and I think students in Grade 7/8 would enjoy it!

Leave a Reply
You must be logged in to post a comment.